Similar to project 1, so basically this one should be done fairly quick.
It's only going to be a lot bigger in size.
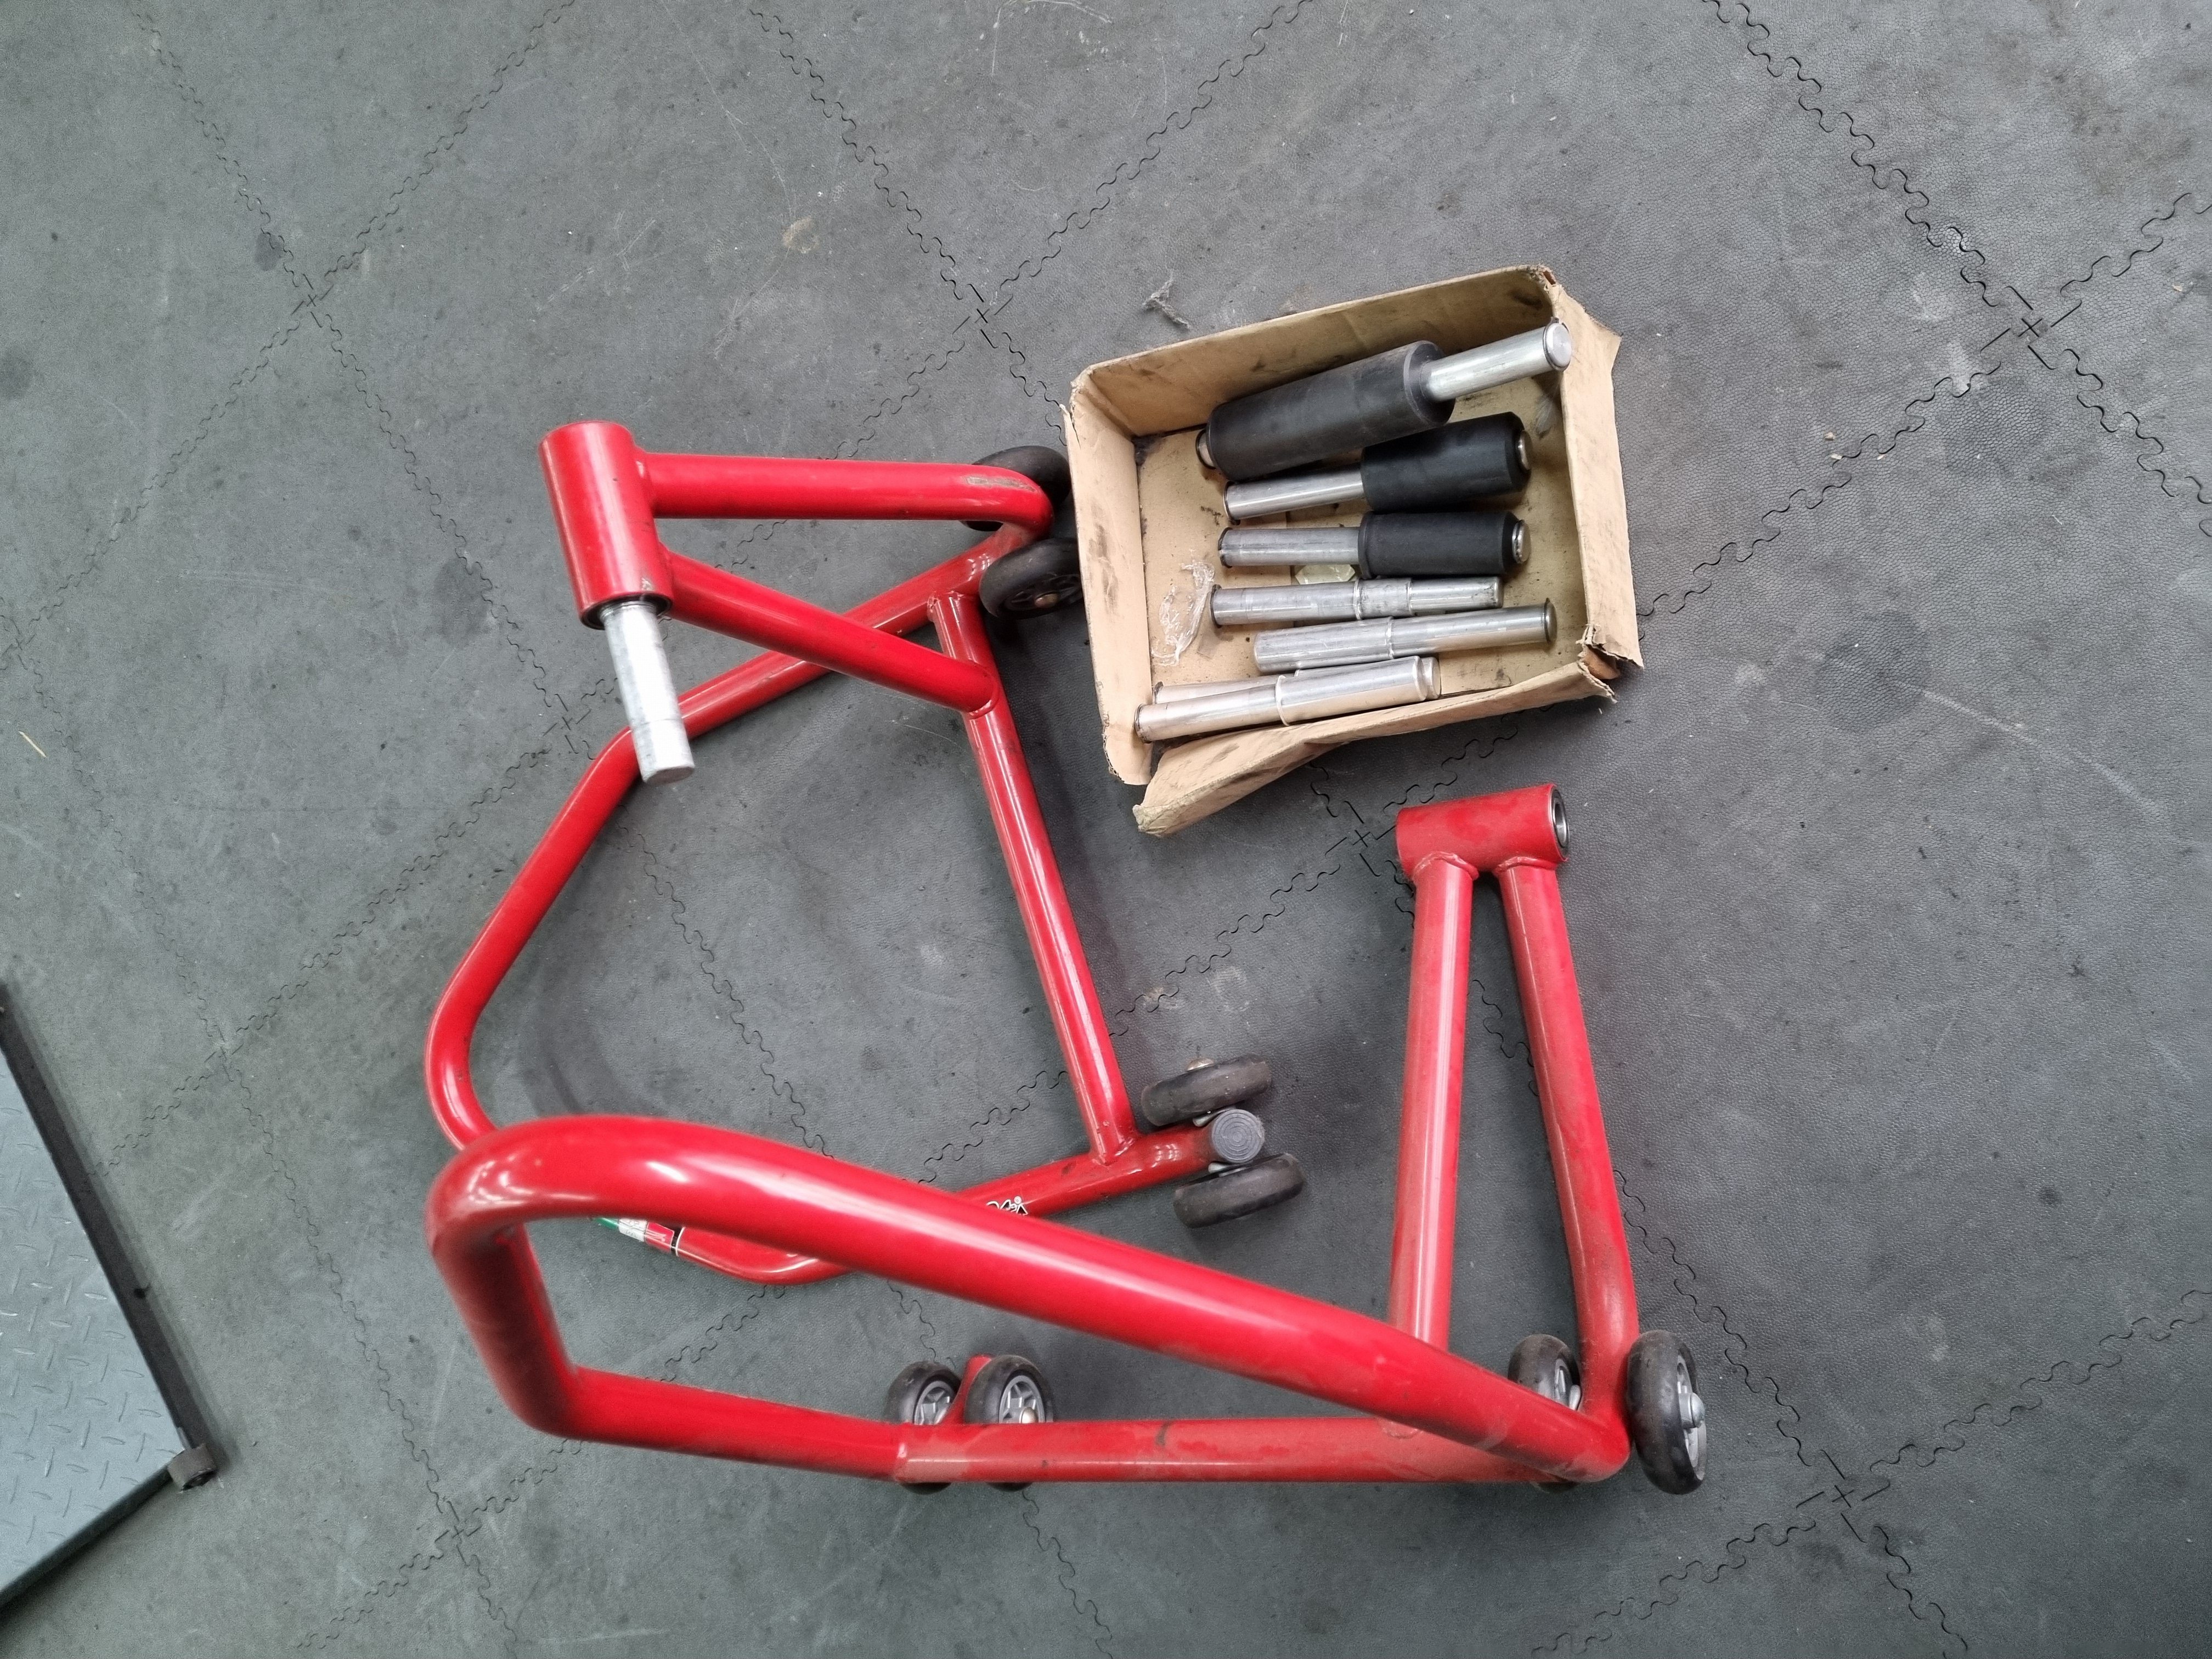
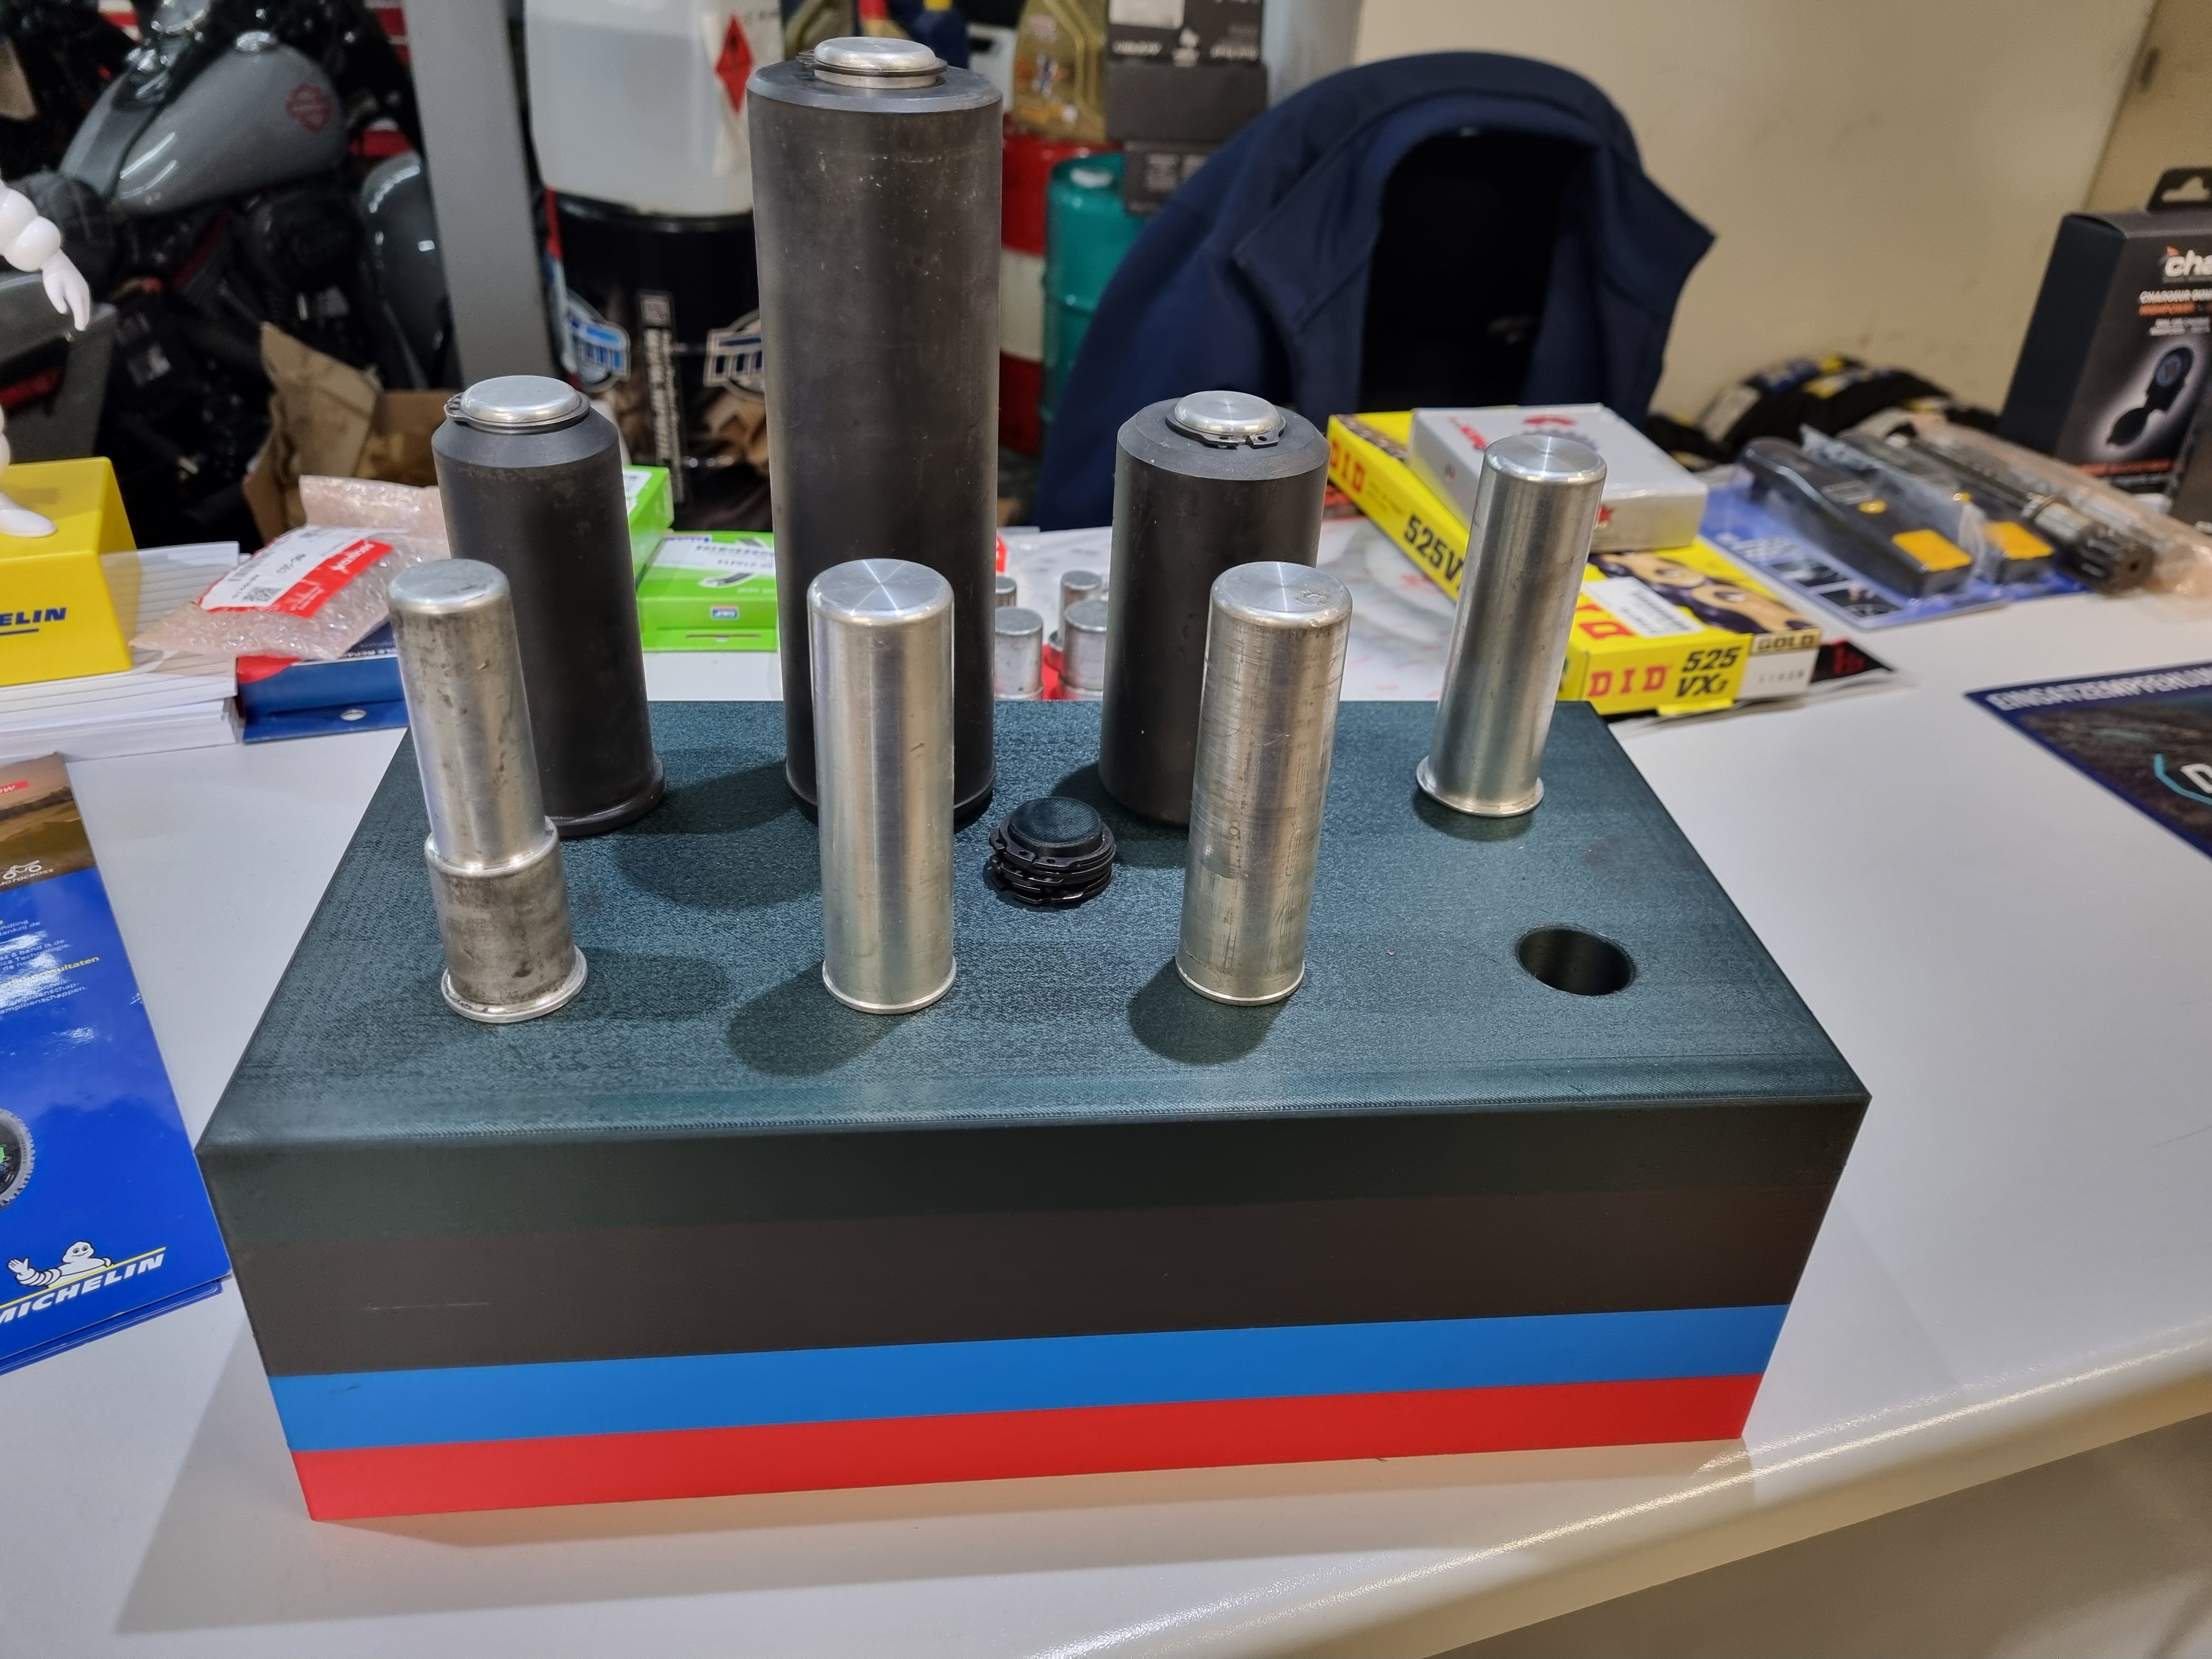
So as you can see, there are 8 adapters that can be fitted in either paddock stand. And al the adapters are currently just in a carbon box.
So all I need is a block to put the adapter into.
Now one additional thing with these. There is a circlip at the end of the adapter to hold into the paddock stand. I don't want to put the circlips into the block with the adapter but build a small extension where all circlips will be kept. Let's see how this is all going to workout.
Measurements:
The tallest exterior for the adapter is 55mm in diameter, so have to account for that. Hence will account for 60mm per adapter.
The part of the adapter that is going into the block is 105mm high and 26mm in diameter.
The part for the circlips will be up to 15mm high and has a 23mm diameter. I might make it a bit higher thow.
The full box size will be 340mm in length, 180mm in width and 110mm in height.
So a lot of material I suppose. But if I would run out material, that would become another test for the printer on how this is going to be handled.
UDATE ( 2025 feb 11):
I started the print yesterday, but it started really, really, really slow..... Had some errors about filament stuck, but those solved after a retry. While it was printing, I took a look at the slicer and what I choose to use for settings, and I think I turned on the ironing on every layer..... whoops..... Decided to just let it run rather then to stop and start again.
This morning when I came in, the printer head was up about 10cm over the print and moving as if it was printing on that level, but nothing came out. Turned out the filament got jammed and wasn't moving any more. As there was filament in front of the 'out of filament sensor', the printer didn't notice anything wrong and kept printing. Retracting the filament didn't work either, so had to go to do some digging.
Took the filament transporter part off, using the simple instructions on the part itself. 3 screws and it came off. Took some time to fidle the filament out of it but once that was out and everything put back together I was ready to go.
A new micro-code update was ready, so installed that. Ran the full calibration just in case, and started a small print before starting this project print again.
This time I used some different settings so it wouldn't take 48 hours.... now it estimates a 22 hour print.
Now fingers crossed that it doesn't jam again, and that the printer stops when filament runs out. And then, hopefully, I can choose a different filament (also different color, as I don't have the same color lying around)
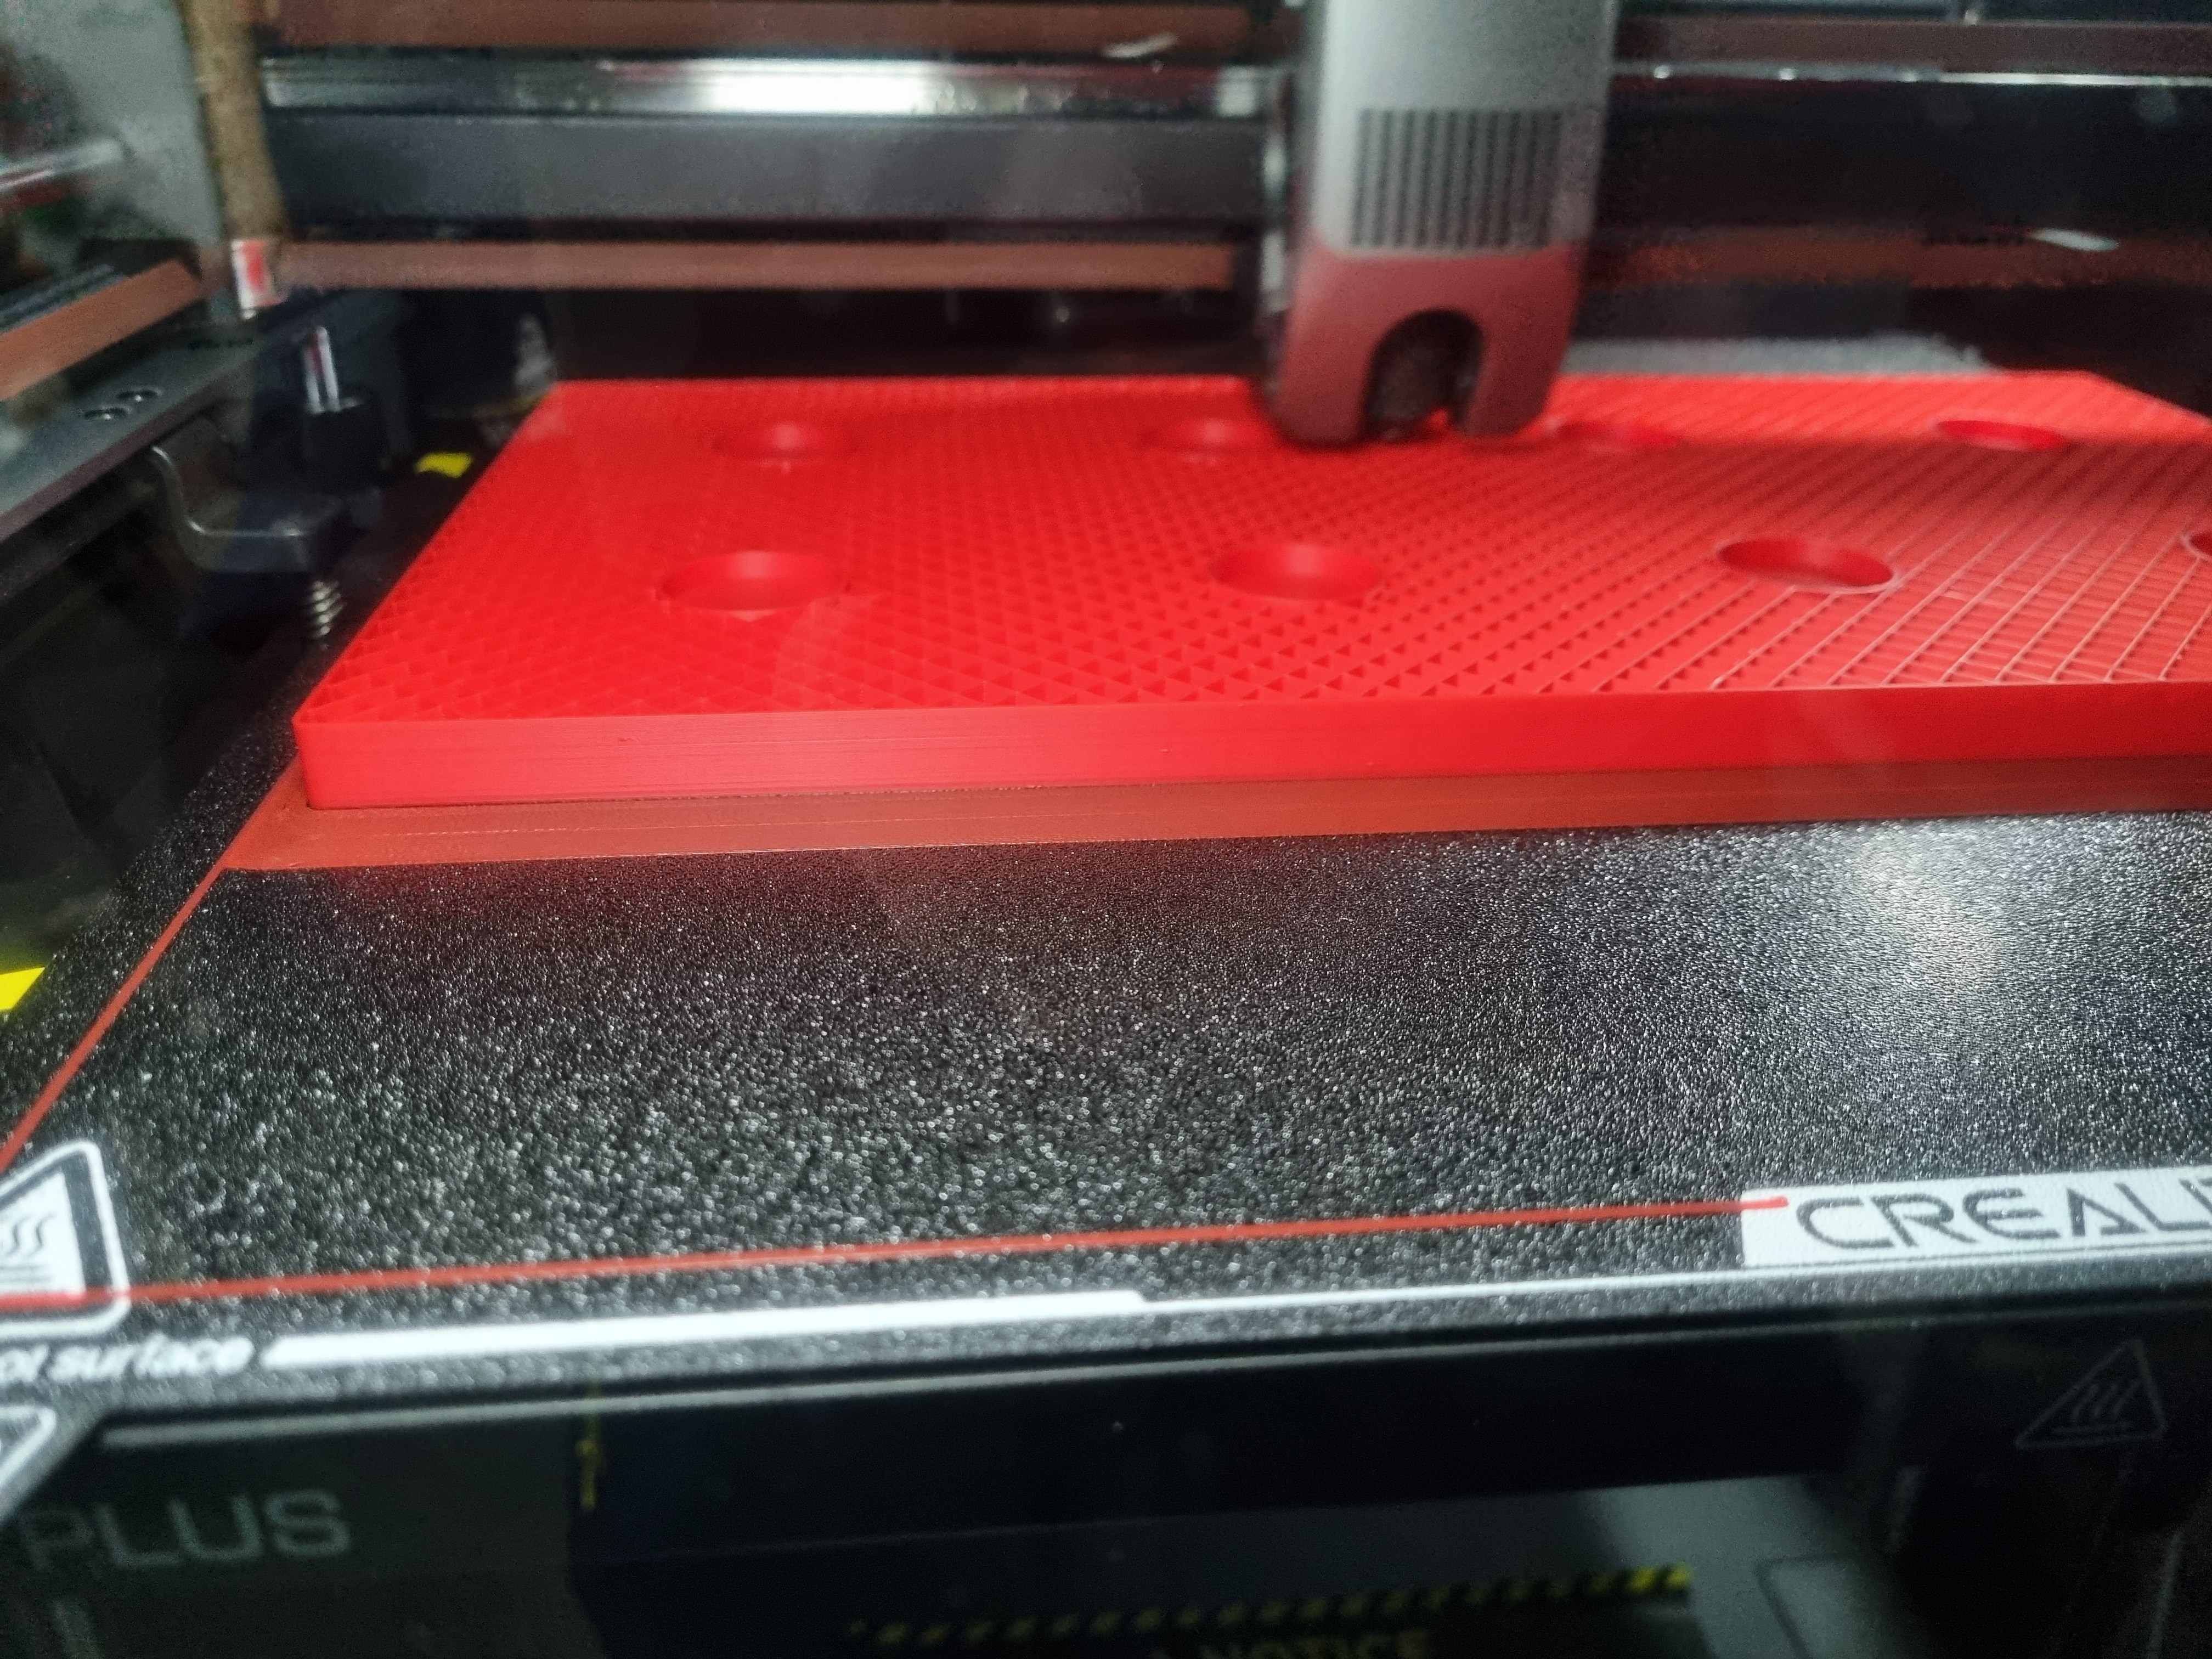
After a lengthy print job, with filament changes in between it finaly finished correclt, and works for.
As I only had one role per color of filament, it turned out to be a color mixed item. But for me that is no issue, it just needs to be functional.